Folder management
Using the latest version of our software, PI2? Click here for the right support article.
To access the folder management section, click on your name in the top right corner and then select ‘Administration’. Select the ‘Folder Management’ tab.
Create a new folder
1. Click ‘Create New Folder’. The ‘Add New Folder’ section will appear below the folder list.
2. Select the folder path for the new folder. Click the x on the default folder path and then begin typing the folder path you want the new folder saved under.
Best practice: Before you click ‘create new folder’, click the folder you want your new sub folder saved in and the folder path will automatically default there.
3. Provide a folder name
4. Under ‘Folder Contents’ you have the option to add in a person’s assessment, a job or a team to the new folder. To add them, start typing the name in the search field.
If you do not have any to add at this time, you can leave this box blank.
5. As Account Admins and Owners you will automatically have access to all folders. But for Power Users, Users and Read Only Users, you must be given direct user access.
Type in the User’s name under ‘Users with Access’ to select the users you want to enable access to.
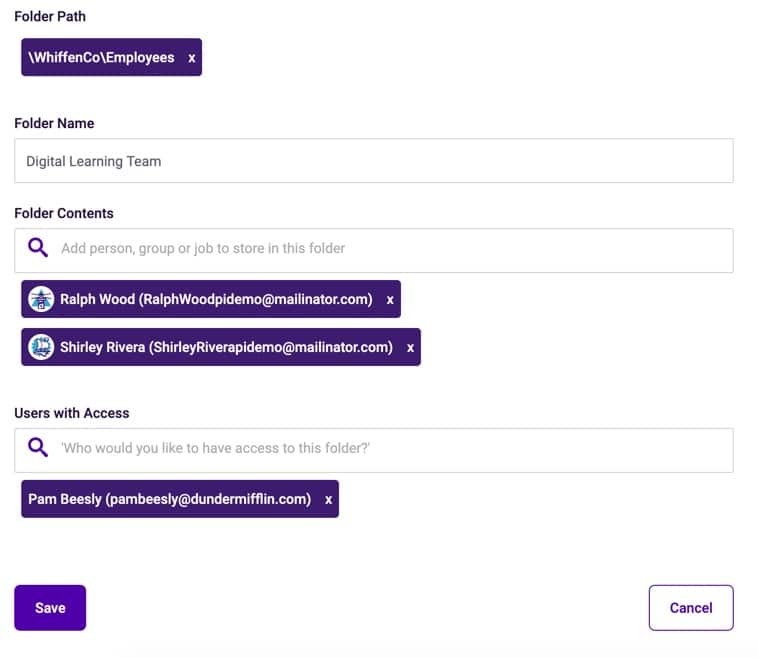
6. Once all information has been added, click ‘Save’. You will receive a green success message in the bottom right corner once the new folder has been saved.
Folder structure best practices
Structuring your Folders within the PI platform is a critical task to complete in your first few weeks with The Predictive Index. It’s a foundational step that will set your organization up for long-term success. Below you’ll find examples of the most common folder structures employed by successful PI clients.
Structure by Department
In this scenario, both Candidates and Employees are organized based on their department (or the department they applied to join) within an organization.
Pros:
- Clear “home” for all employees and candidates
- Ease of Direct Folder Access assignments when creating new users (e.g. Department Leads, Hiring Managers)
Watch-Outs:
- Ensure that software users have direct access to each individual subfolder as is appropriate for their role.
- Account Owners, Account Admins, and Power Users can create new folders.
- Only Account Owners and Account Admins can grant access to folders.
- Here’s a complete guide to user roles.
- When giving a user access to a folder, their access will cascade down into sub-folders. Using the sample folder structure image below:
- If your Marketing Manager has access to the OnboardingCo/Candidates folder, she will be able to view the applicant assessments that live in the Finance, Marketing, Past Candidates, and Sales subfolders.
- Conversely, if your Marketing Manager is given direct access to the OnboardingCo/Candidates/Marketing subfolder, she will not be able to view/access Finance, Past Candidates, or Sales subfolders.
- PI recommends providing every software user access to all employee Behavioral Assessments. This can help in a number of ways:
- Managers can identify talent in other departments to fill open roles within their own discipline
- Individual Contributors with software access can create reports like Relationship Guides for cross-functional project teams
- Behavioral patterns are meant to be shared and discussed among colleagues.

Organize by Geography
For organizations with multiple offices, branches, or retail locations, it may make more sense to organize employees and candidates by geography.
Pros:
- Clear organizational structure for each geographic location
- Clear ownership/folder access permissions for each location
Watch-Outs:
- Ensure that software users have direct access to each individual subfolder as is appropriate for their role.
- AccountOwners, AccountAdmins, and Power Users can create new folders.
- Only AccountOwners and AccountAdmins can grant access to folders.
- Here’s a complete guide to user roles.
- When giving a user access to a folder, their access will cascade down into sub-folders. Using the sample folder structure image below:
- If your SVP of Sales has access to the OnboardingCo/Employees folder, he will be able to view the employees assessments that live in the BOS Office, NYC Office, and SF Office subfolders.
- Conversely, if your SVP of Sales is given direct access to the OnboardingCo/Employees/BOS Office subfolder, he will not be able to view/access NYC Office or SF Office subfolders.
- PI recommends providing every software user access to all employee Behavioral Assessments. This can help in a number of ways:
- Managers can identify talent in other geographic areas to fill open roles within their own location
- Individual Contributors with software access can create reports like Relationship Guides for cross-functional project teams
- Behavioral patterns are meant to be shared and discussed among colleagues.

Important Note: Regardless of the folder structure you establish, PI strongly recommends against saving information (Candidate, Employee, Job Target, etc.) in the Root Folder.
The Root Folder will be your Company Name. All users have default access to the Root Folder. If Candidate or other sensitive data is saved to the Root Folder, it will be available for any/all users to see.
Remember to specify sub-folders in the following common scenarios:
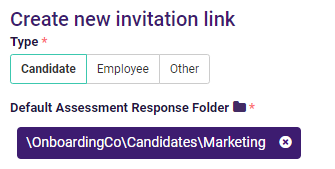
Creating Open Invitation Links
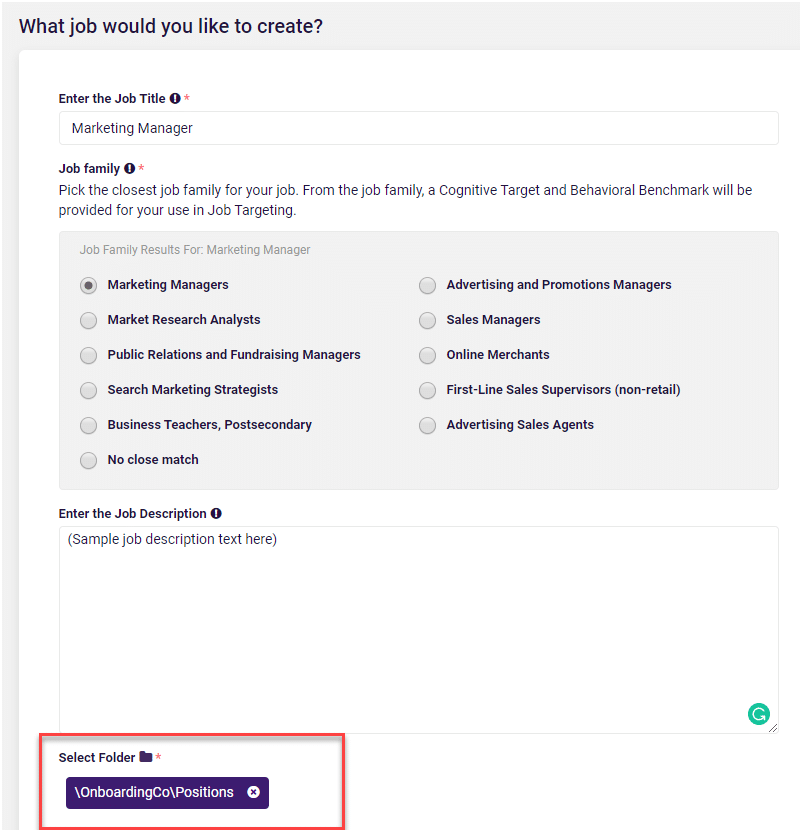
Creating a Job
Delete a folder
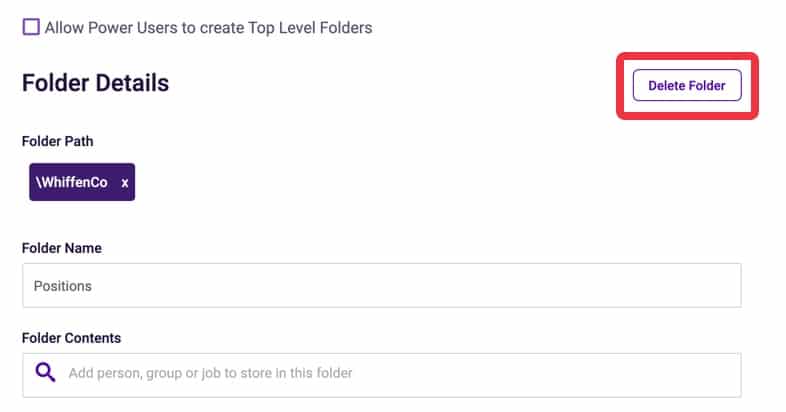
1. Click on the folder you would like to delete from the software. You will be redirected to the Folder Details.
2. Remove all content from the folder. The folder must be empty in order to delete it. You must remove all people, jobs and subfolders. If the folder is not empty, you will receive a red error message in the bottom right corner when you try deleting it.
3. Click the ‘Delete Folder’ button and then click ‘yes’ to confirm you would like to delete the folder.
Enable users to a folder
Account Admins and Owners are automatically given access to all folders under Folder Management. Power Users, Users and Read Only Users must be given access in order to view specific folders. When an Account Admin or Owner creates a new user, selecting a default folder will automatically grant the user access to this folder (if they are not Account Owner or Account Admin level).
1. Click on the folder you would like to enable users to. You will be redirected to the Folder Details.
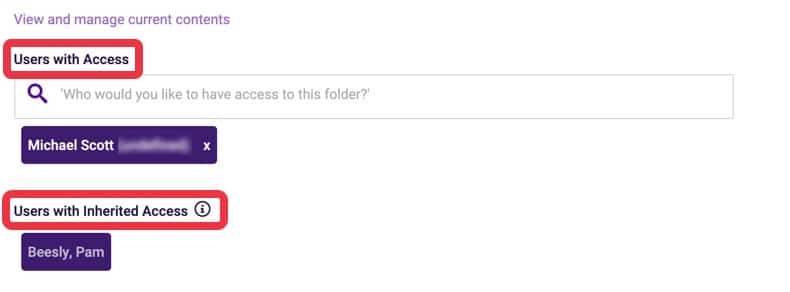
2. Users that already have access will appear under the ‘Users with Access’ Section.
If a user was given access to a higher level subfolder, they will automatically be given access to any subfolders within that higher level subfolder. These users will be listed as ‘Users with Inherited Access’.
3. To add additional users to a folder, type in the name of the user you would like to give access to in the ‘Users with Access’ section.
4. Click save once you have added all users.
Managing your folders
1. Click on the folder you would like to update. You will be redirected to the Folder Details of that folder.
2. To change the folder path, click the x on the current path. Start typing the name of the folder you would like to move the subfolder to.
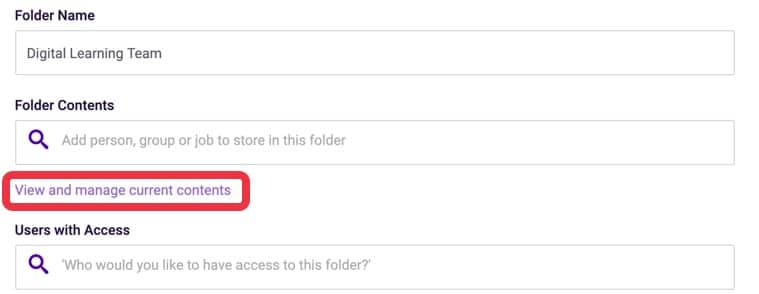
3. To view the contents of a folder, click the link ‘View and manage current contents’ below the ‘Folder Contents’ section. This will direct you into the folder.
Related videos
Creating and deleting folders
Enabling users to folders
To inform us of a typo or other error, click here. To request a new feature, click here.